Are you planning to make a waxed concrete staircase indoors? This material is ideal for giving cachet to this type of structure and brings a touch of modernity to your interior. Here are our tips for the proper realization of this project.
Before
To design your waxed concrete staircase, take the following materials and tools:
- Hard ground mortar (if necessary to equalize the level of the support, example on tiles)
- Waxed concrete kit of the color of your choice (grip primary, concrete and its color, varnish/pores)
- Stainless steel and PVC plate
- Foam
- Inner angle troop and external angle trowel.
- Scotch de protection
1. Preparation of the support
Putting a waxed concrete on a staircase requires good preparation to have a satisfactory result. The application of this material must be made on a prepared surface: the support must be healthy and non -absorbent with non -furniture materials (so we will avoid wood or PVC). After dusting, applying a universal hanging primary See even our special preparation hard floor which will guarantee you an optimal quality of catch. Then place a protective tape on the wall to delimit each step and counter walking.
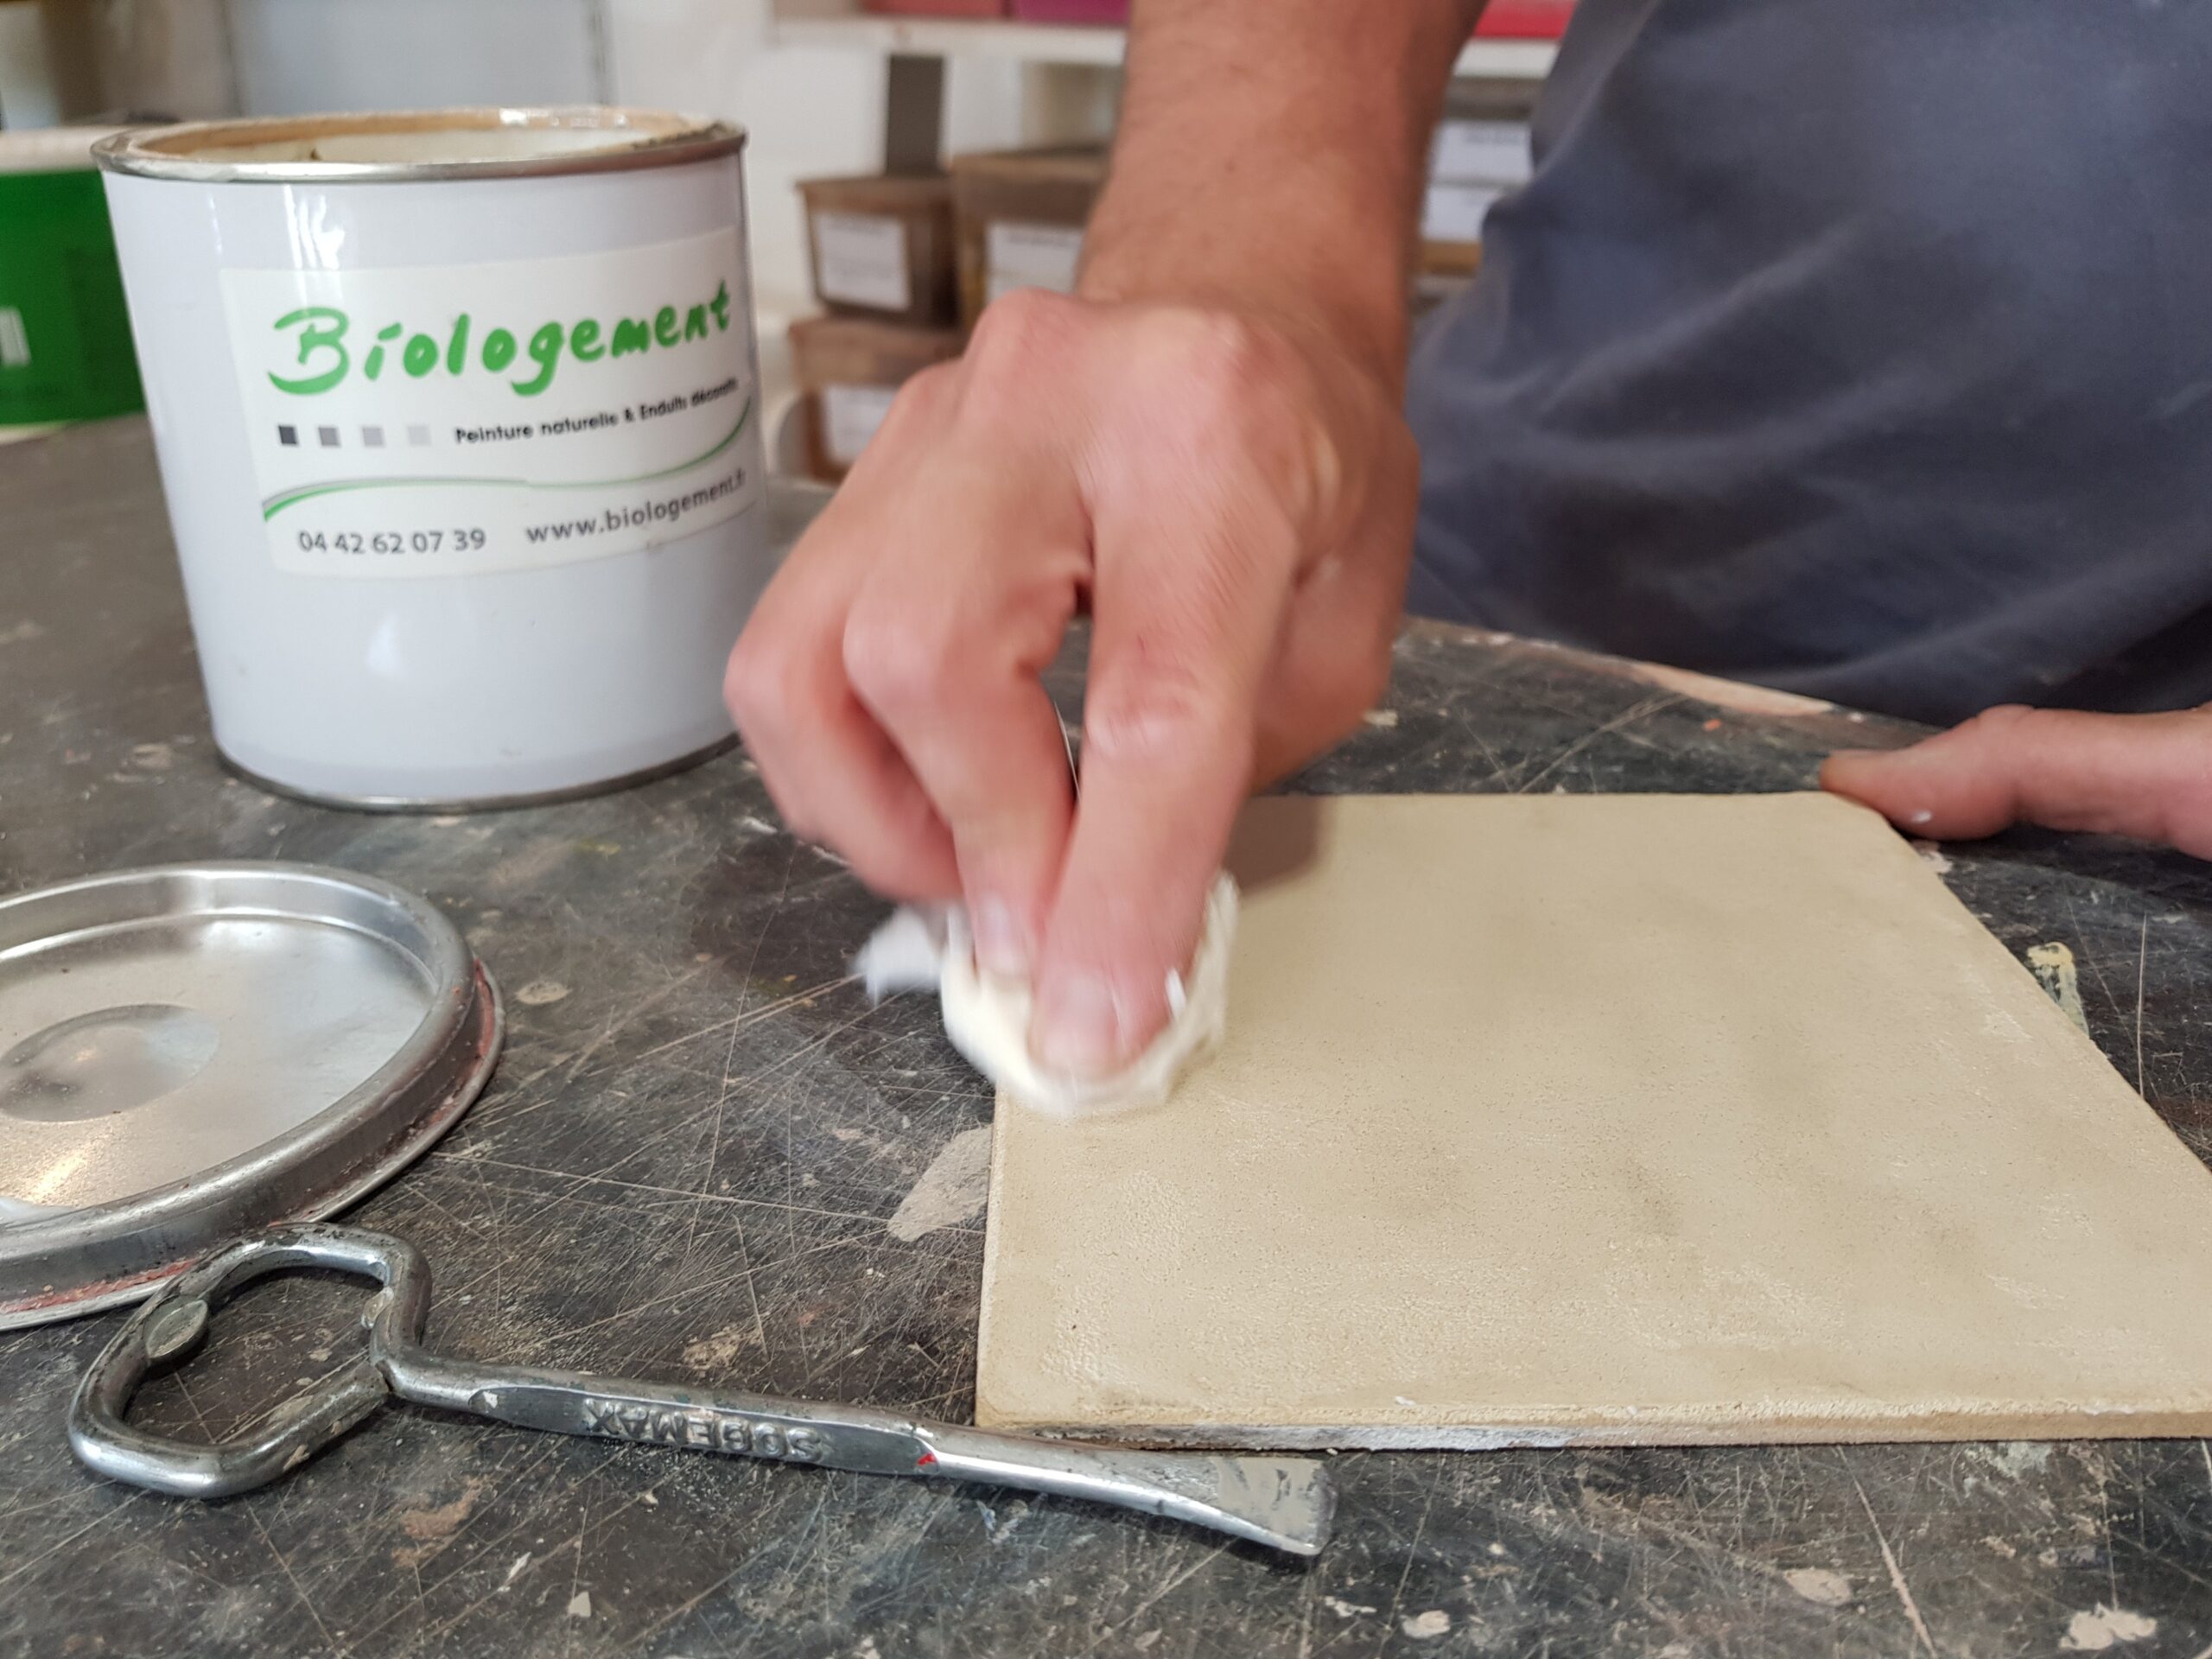
2. Preparation of waxed concrete
You will have to make the mixture of the material before the installation of concrete. Use that simply what is present in our waxed concrete kits. Your role is to mix this preparation with water. Mix, preferably with a mixer, until a creamy dough is not pleasant to handle and without lumps.
3. Application of waxed concrete
The installation of waxed concrete will be on the steps and counter steps of the stairs starting from the top and always ending with the back. Make regular movements starting from the angles and spread the mixture so as to make layers 1 to 2mm thick. Leave to dry this first layer according to the indications, until what changes in color and becomes hard to the touch.
Apply a second, thinner layer. You can see the shades appear
It is important to use an angle smoothing for specific work. Make the application on walking and counter walking then put a little material on the smooth external angle and make the angle. Then take the following walk and use the indoor angle smoothing with a little material on it. Each passage of angles of angles create a brand to “erase” with the stainless steel.
During the application of this second layer, crush the grain and close the pores, this action is called the iron, it increases the shades smooth perfectly, makes sanding almost useless and makes concrete waxed and harder. If the concrete is hard enough, the strength of the shoeing may increase. If it is not hard enough, it may tear it apart, repair the right time, that is why it is necessary to start the iron by “caressing” the waxed concrete.
The first 3 steps are finished, go to the next 3 and so on. Count 1:30 to 2 a.m. for 3 steps for a 90 cm wide staircase. It is also possible to do 2 steps per 2 steps, leaving 2 not applied steps to be able to climb upstairs and finish the steps the next day. In this case, it is necessary before the application the day after the steps left waiting to sand the angles of the steps made the day before and walk in socks so as not to dirty or damage the finished and still fresh steps of the day before. It is also possible to Do all the days day 1, to sand the first layer and to do a second day day 2, simple method.24 hours after application or more carry out a grain polishing sanding 180 with an orbital sander. The angles will be treated manually. Sanding the stairs well everywhere otherwise the final shade will not be the same. Dust the vacuum cleaner and brush and enjoy the result!
These subjects could interest you:
latest posts published
Parental suite decoration: how to delimit the bathroom space

Children’s bedroom decoration
Zen decoration
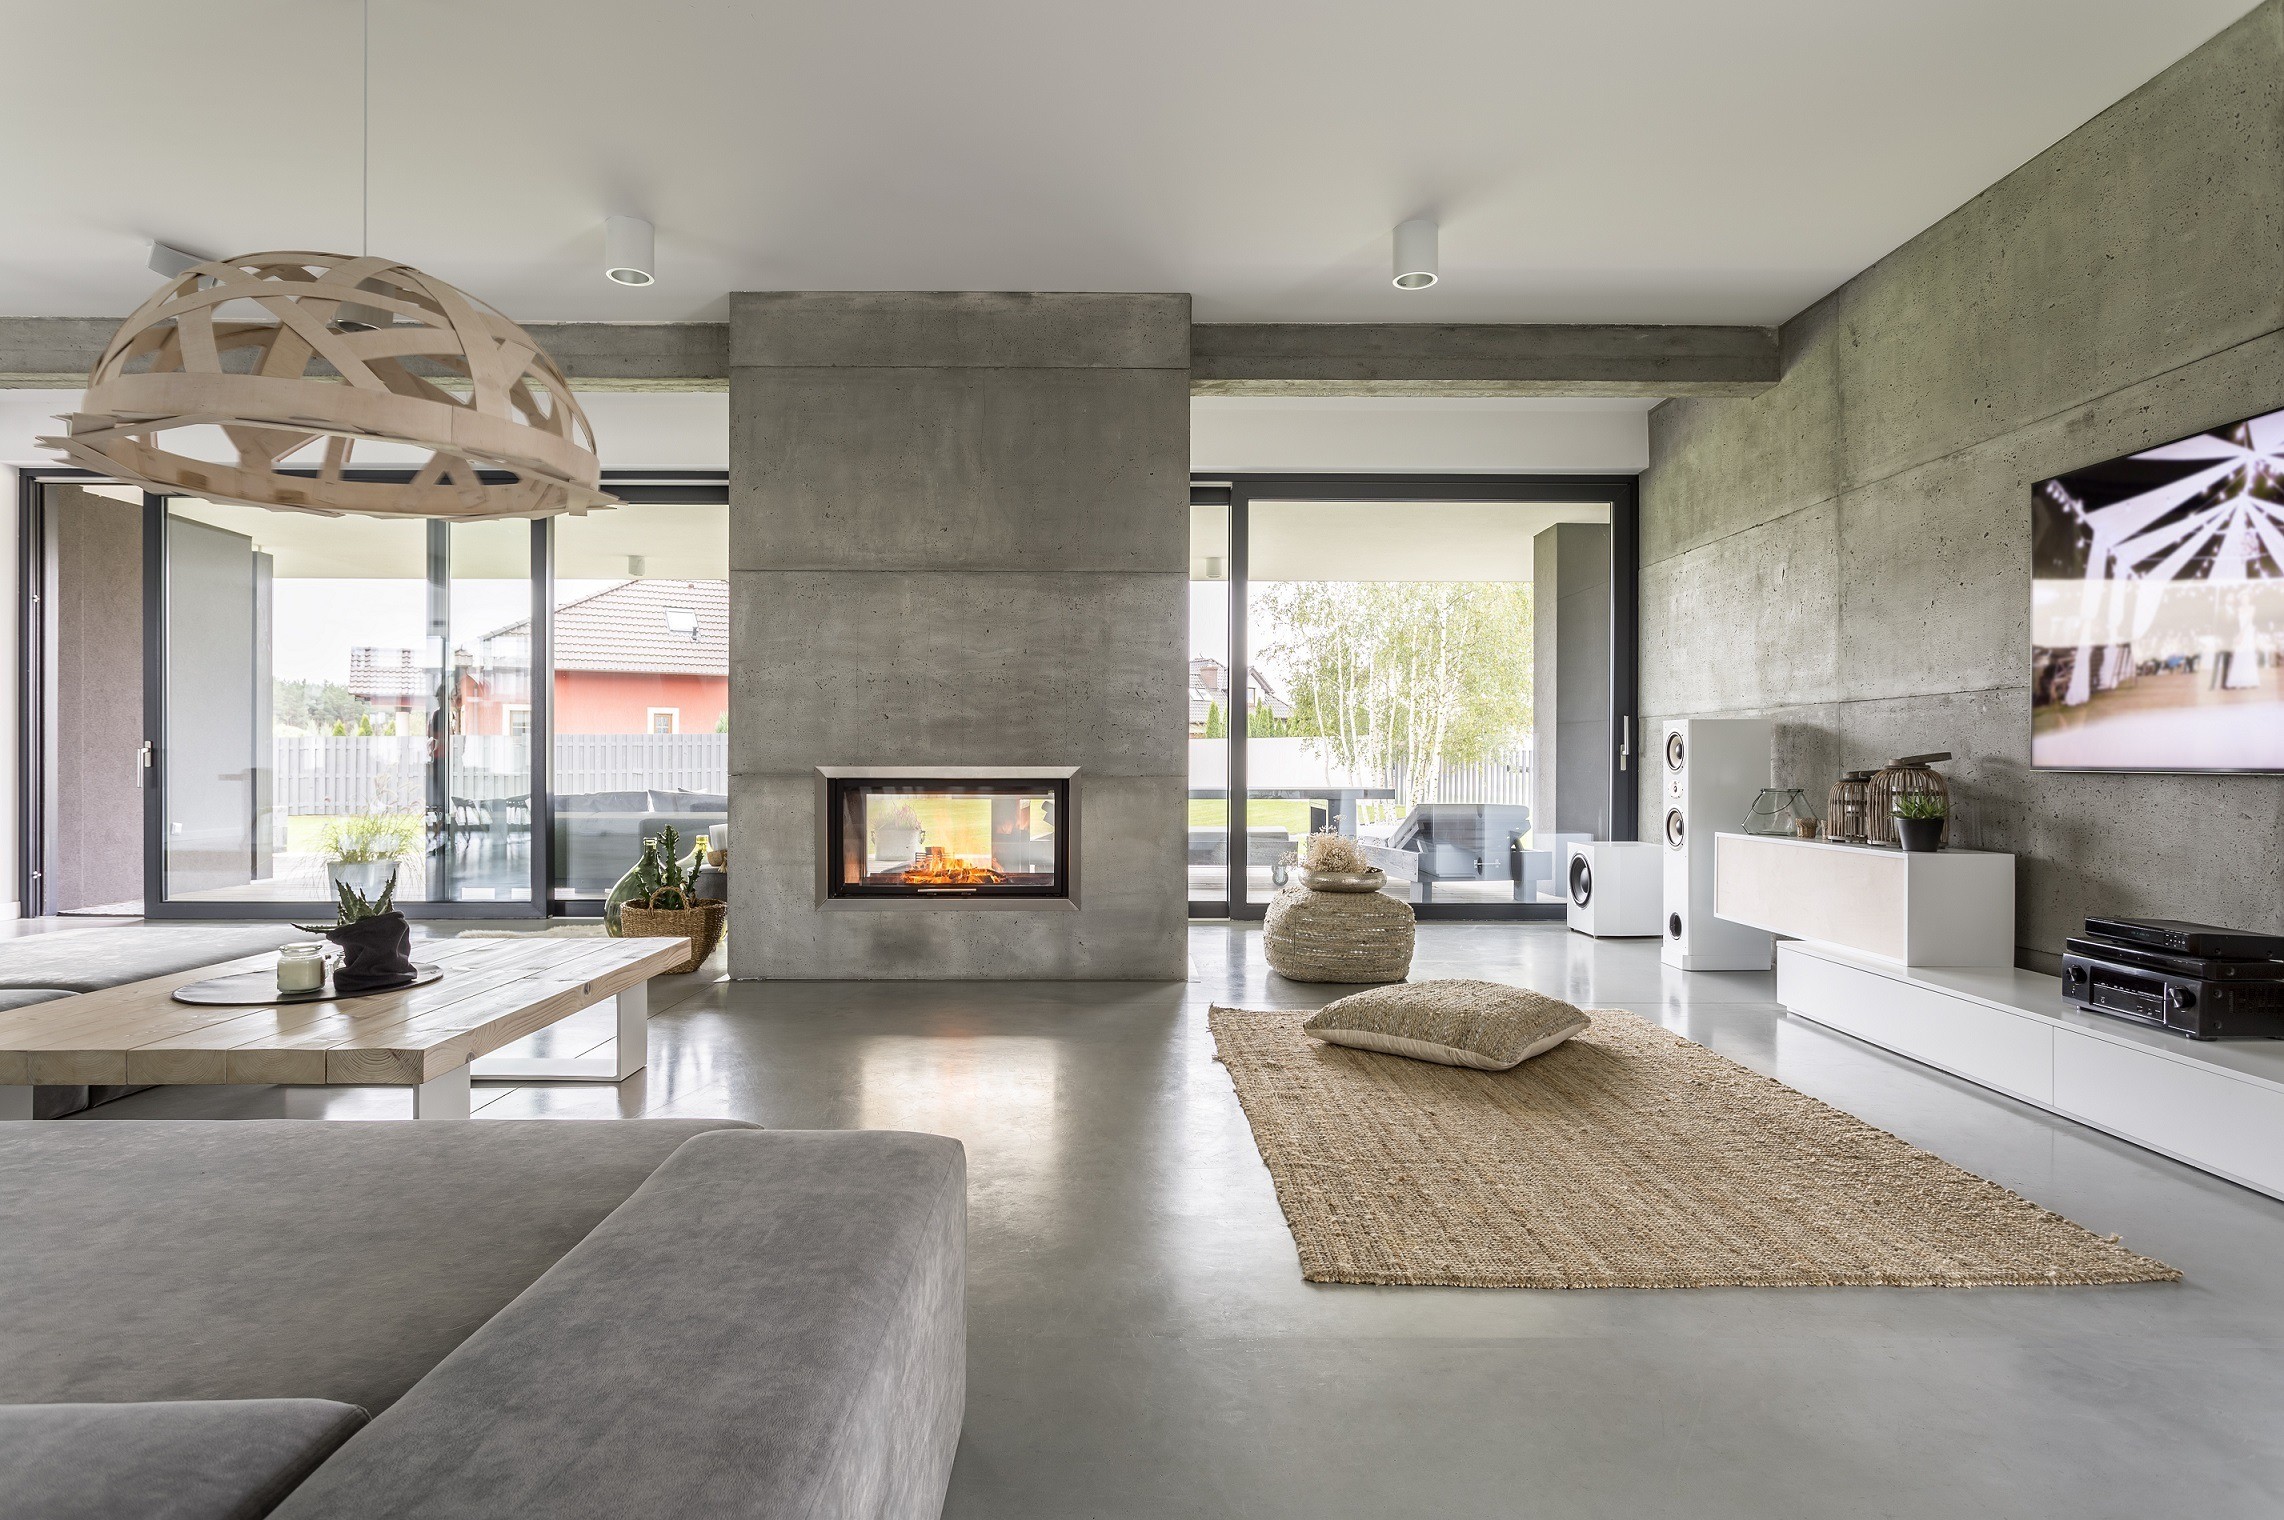
Waxed concrete in an apartment
Opt for cocooning decor
Hotel decorations
Waxed concrete spa: how to do it?
Which decorative frame with a gray sofa?
How is a waxed concrete sample at € 15?