
The finish of a concrete floor so that it looks like marble gives the appearance of a high standing surface, without the hassle implied by a marble floor.
Concrete floors offer stability that other floors cannot offer, and it is enough to sweep and clean the waxed concrete floor from time to time to take care of it. Also to make a marbled concrete, a waxed concrete base should be used. Preparation: Before starting, choose several paint colors that complement each other and oppose each other. Step 1
Bush the concrete well to clean the floor of all the small impurities.
Step 2
Paint the floor with a concrete primer using a paint roll, ensuring that the primer completely covers the ground. Let the primary dry completely, in accordance with the instructions indicated on the product. The drying time may vary depending on the exhibition of your room
Step 3
Using the paint roll, paint the whole floor with the basic color you have chosen. Let the base layer dry according to the manufacturer’s specifications.
Step 4
Choose a complementary color to your base layer. Kneal on the ground with the base layer and the second color nearby. Using a brush, apply the two colors to the floor in unequal quantities. Mix the two colors until they mix but still have distinct streaks and spots. Do not let the paint dry completely.
Step 5
Apply a third color, different from the two colors in step 4, but complementary to them, by applying it with a natural sponge before the paint you have already applied is dry. The application is done by gently stamping small amounts of paint on the ground.
Step 6
With a fine brush, use a fourth color of paint that contrasts with the rest by thin zevres on the still humid paint.
STEP 7
Before the zebrures dry, use the flared brush to brush them in a back and forth movement, which gives them a feather appearance.
Step 8
Plan 24 hours for the marbled effect you got dry completely.
Step 9
Apply a layer of polyurethane with a high quality brush and let dry according to the manufacturer’s specifications.
STEP 10
Paint a second layer of polyurethane on the ground and let it dry. Once dry, your soil will have the appearance of a very polite marble.
These subjects could also interest you:
latest posts published
Parental suite decoration: how to delimit the bathroom space

Children’s bedroom decoration
Zen decoration
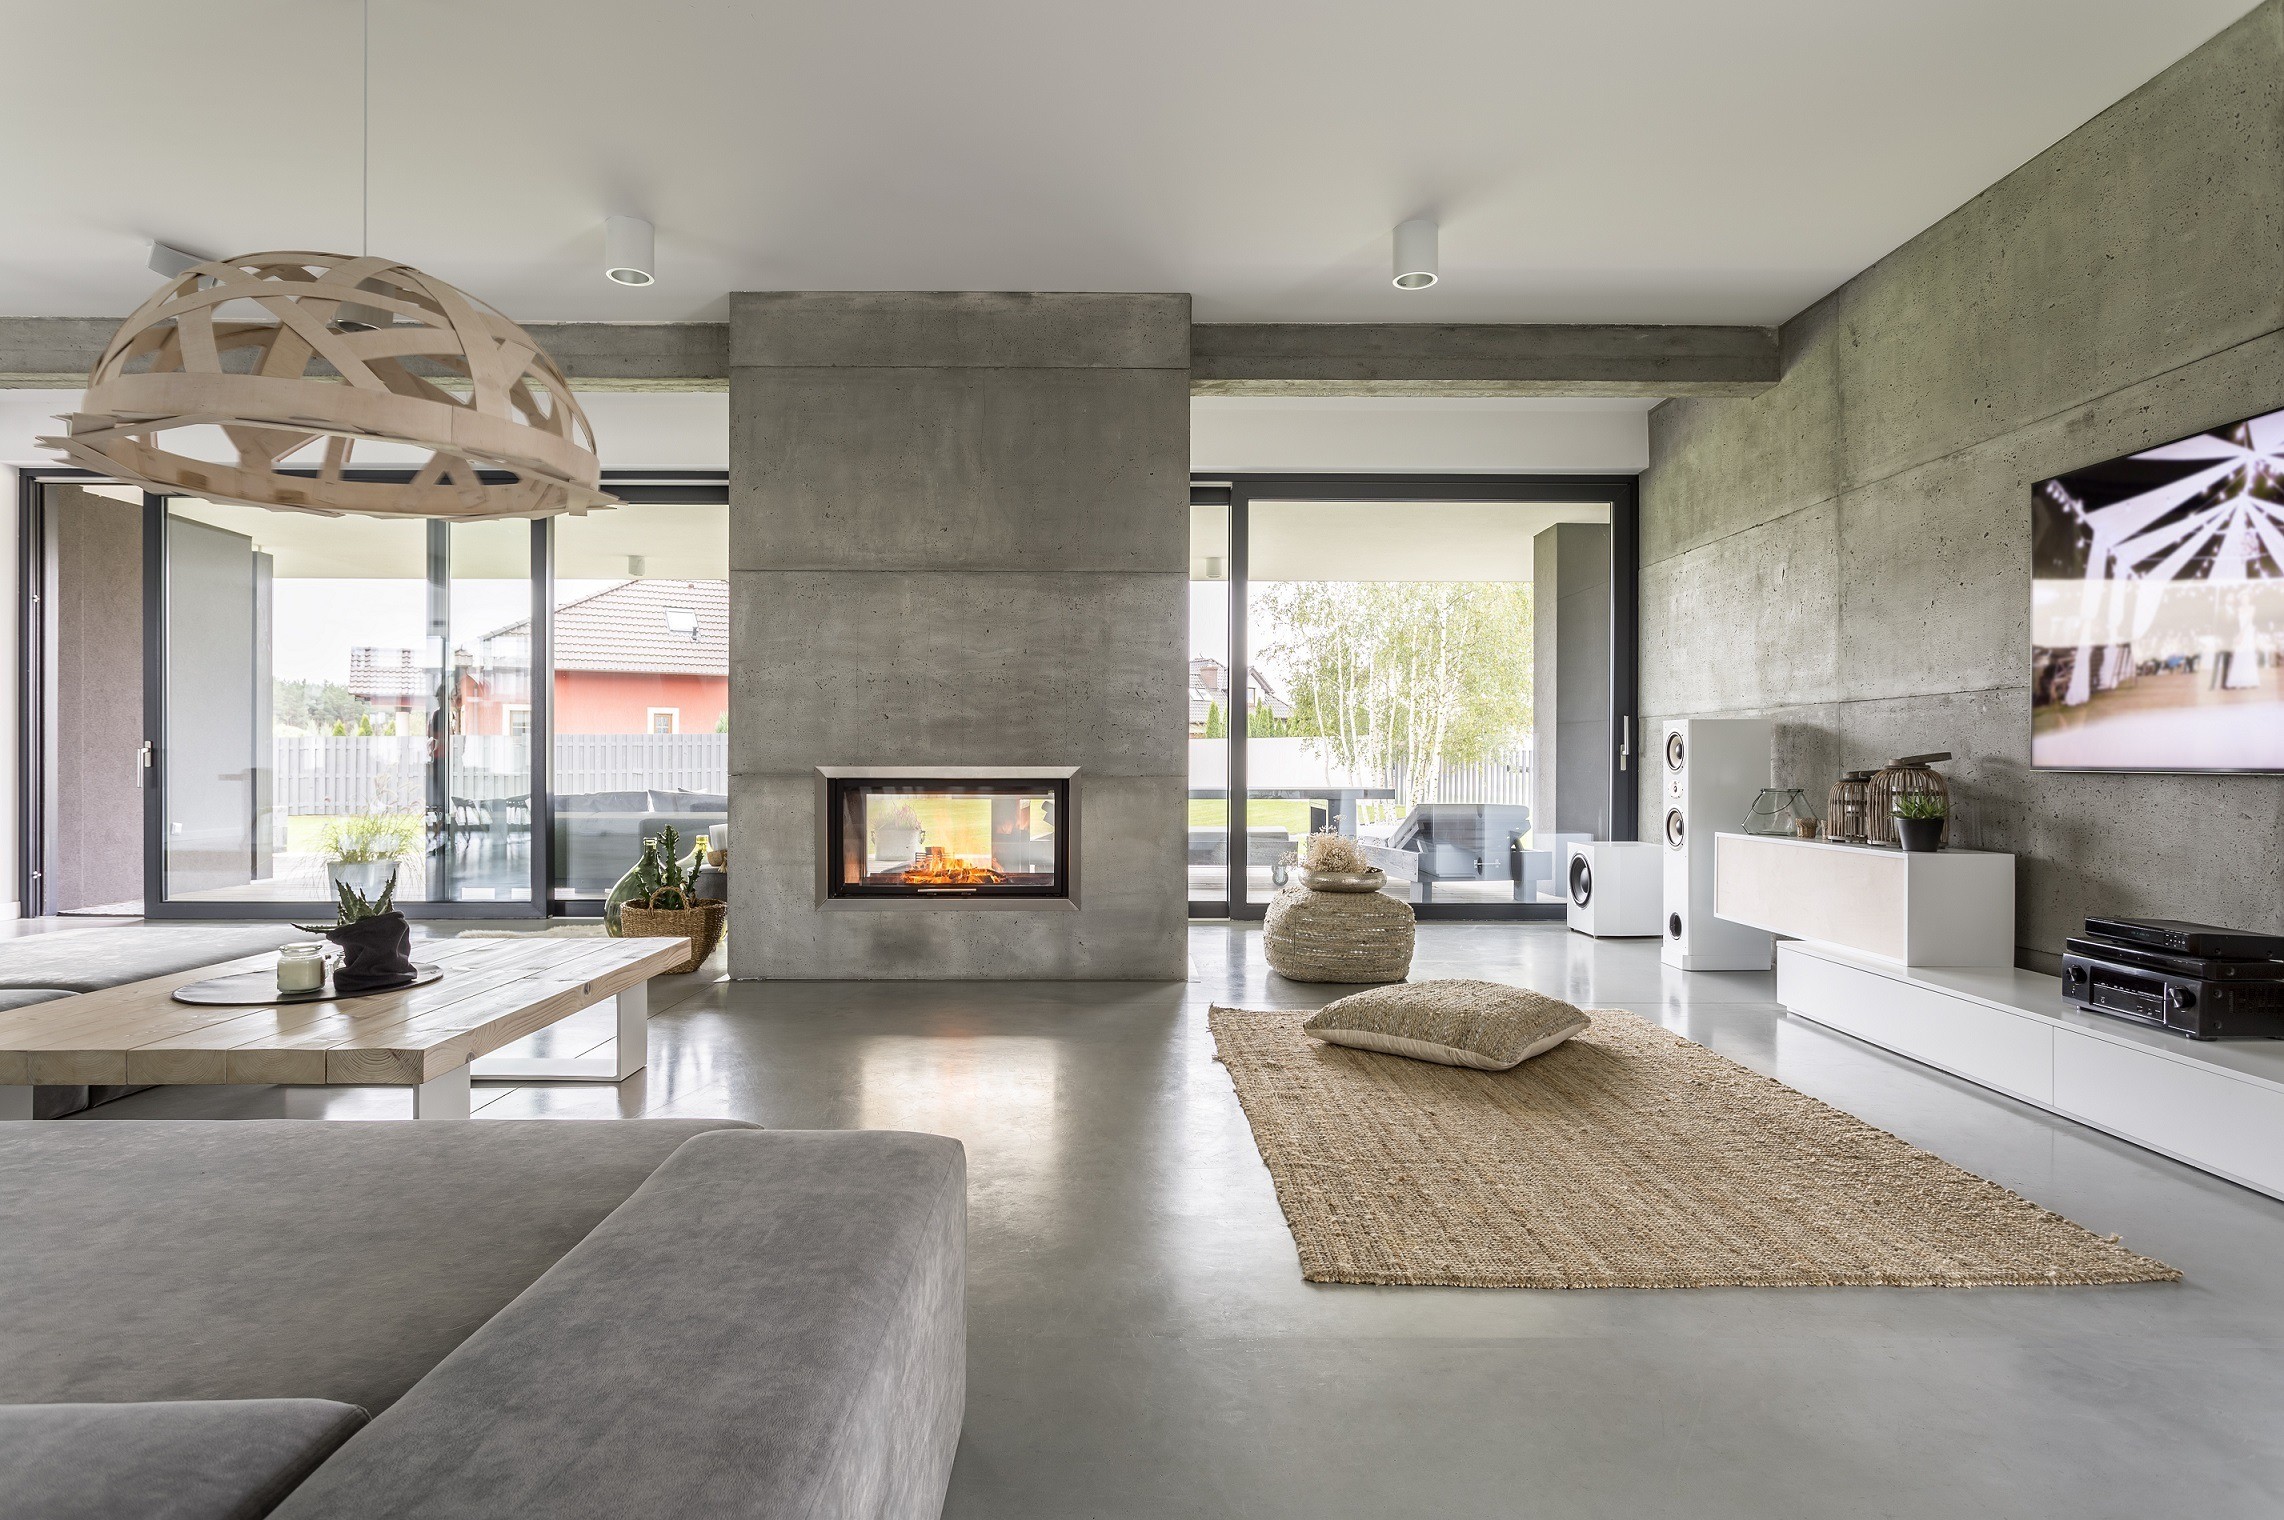
Waxed concrete in an apartment
Opt for cocooning decor
Hotel decorations
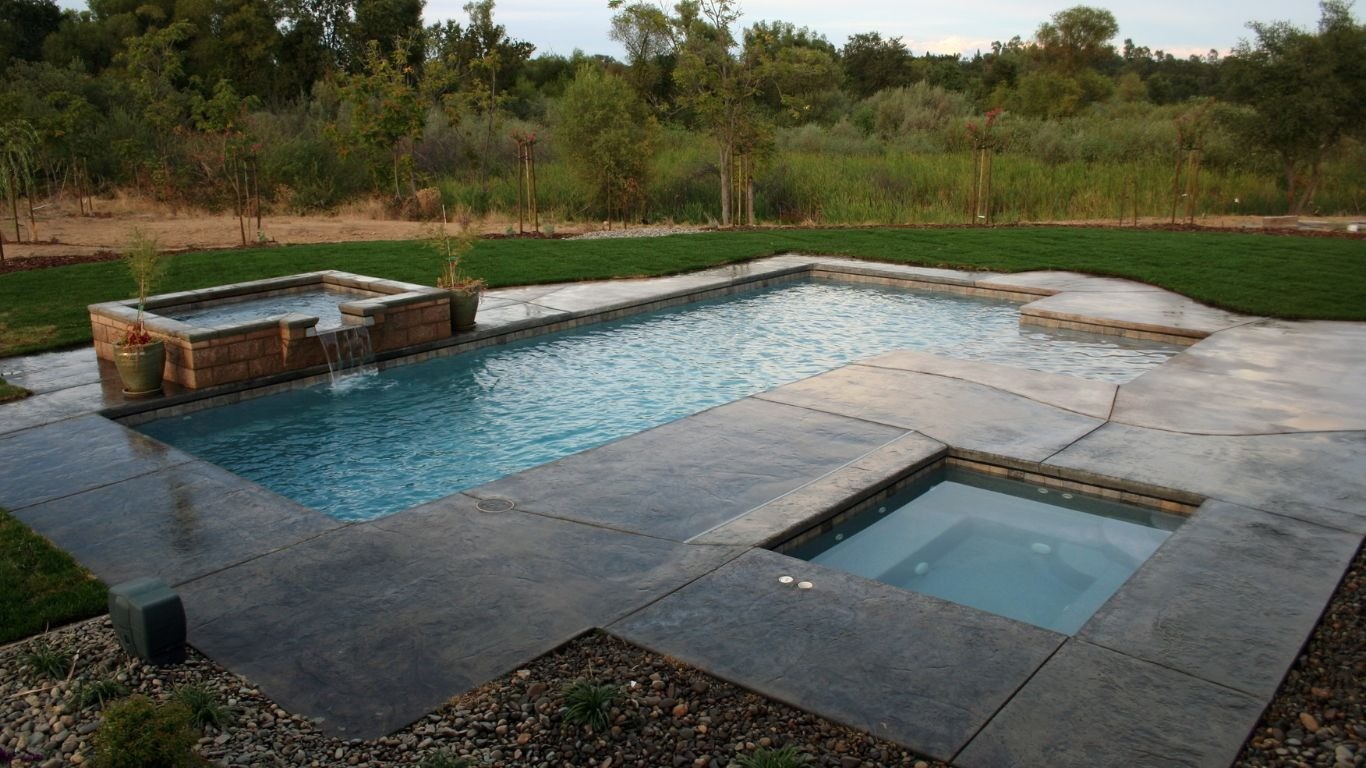
Waxed concrete spa: how to do it?
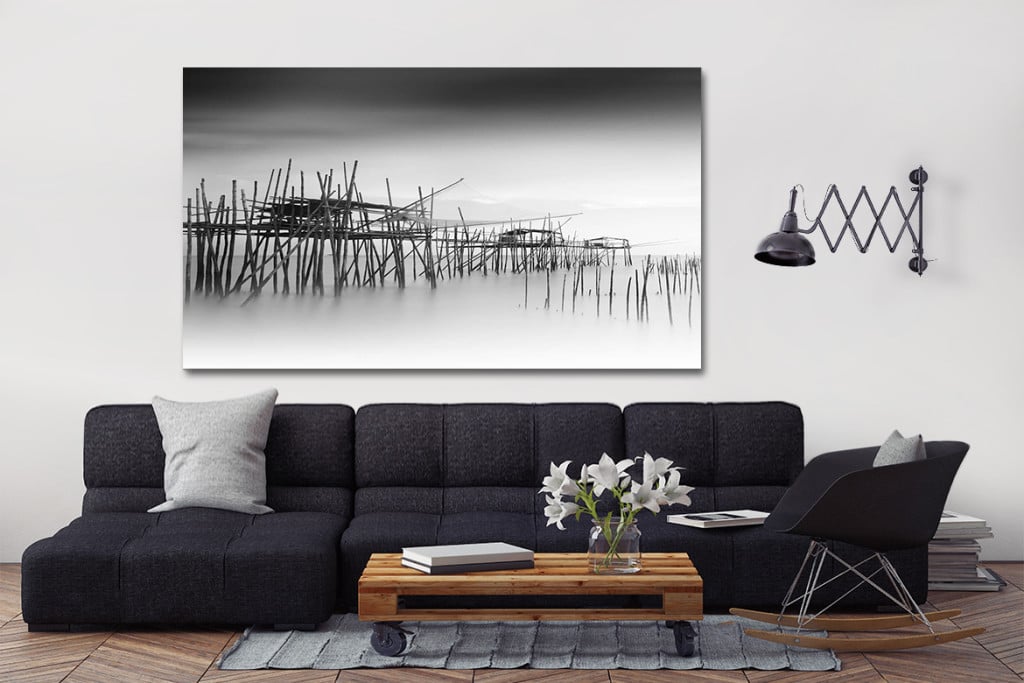
Which decorative frame with a gray sofa?
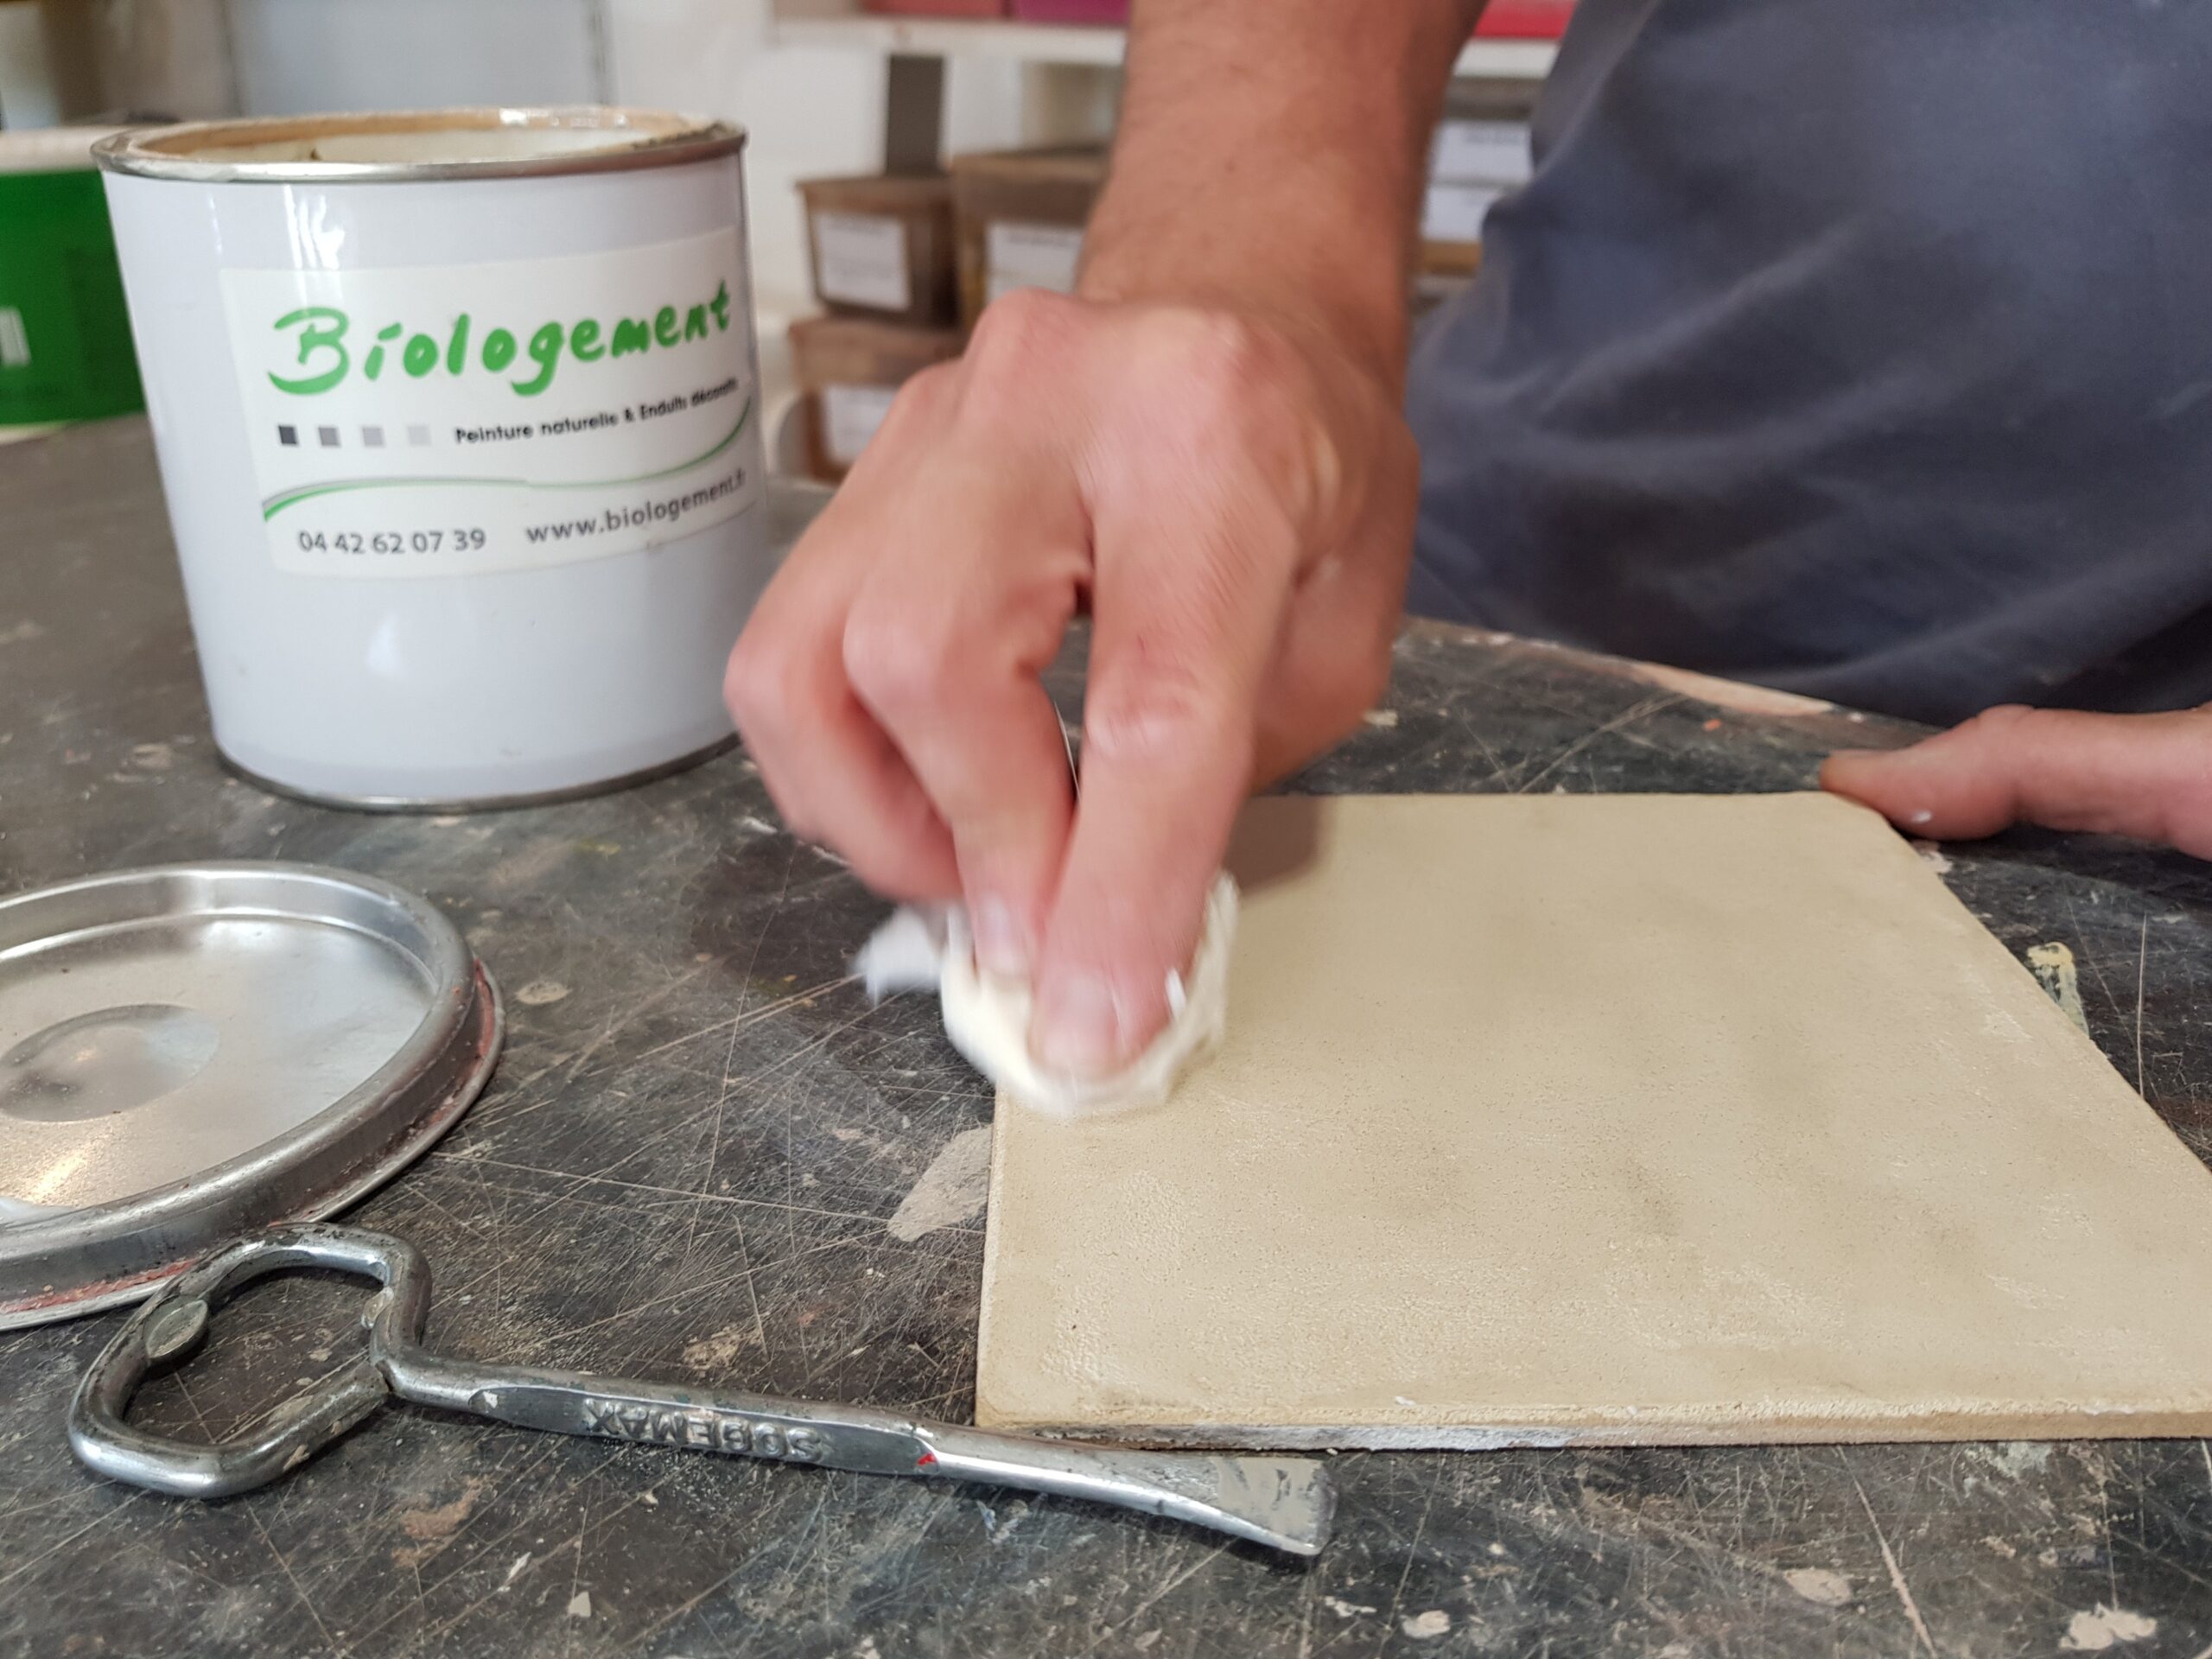
How is a waxed concrete sample at € 15?