Applying an underlay before painting is an essential step to guarantee an optimal and durable result. This often neglected practice ensures better adhesion of painting, standardizing the surface and can even contribute to paint savings. In this article, we will explore in detail the reasons why the undercoat is essential, how to properly prepare your support, choose the appropriate tools, properly apply the underlay and respect the recommended drying times.
Why apply a undercoat?
The underlay, also called the primary of hanging, plays several crucial roles in the paint process:
- Improvement of grip: It creates a surface conducive to the catch of finish painting, especially on porous or smooth supports such as plaster, wood, metal or tiling.
- Support standardization: It masks absorption differences and minor imperfections, guaranteeing a uniform color after applying the final painting.
- Painting economy: By blocking the support pores, the underlay reduces the quantity of paint required to obtain a homogeneous coverage.
- Improved facility and finish: The undercoat makes the finish more pleasant to install because the water of the finish paint is not immediately absorbed by the support. Roll recovery and marks are considerably reduced.
Support preparation
A careful preparation of the support is essential to ensure the effectiveness of the underlay and the quality of the final rendering.
Cleaning
Start by dusting and cleaning the surface to be painted. Use a slightly damp sponge with soapy water to eliminate traces of fat, dirt or mold. Let dry completely before continuing.
Performing of imperfections
Inspect the support in search of cracks, holes or other faults. Use an adapted rewriting coating to fill the imperfections, then sand slightly once dry to obtain a smooth and uniform surface.
Sanding
A slight sanding of the entire surface with a fine abrasive paper makes it possible to promote the adhesion of the underlay. After sanding, dust carefully using a dry cloth or vacuum cleaner.
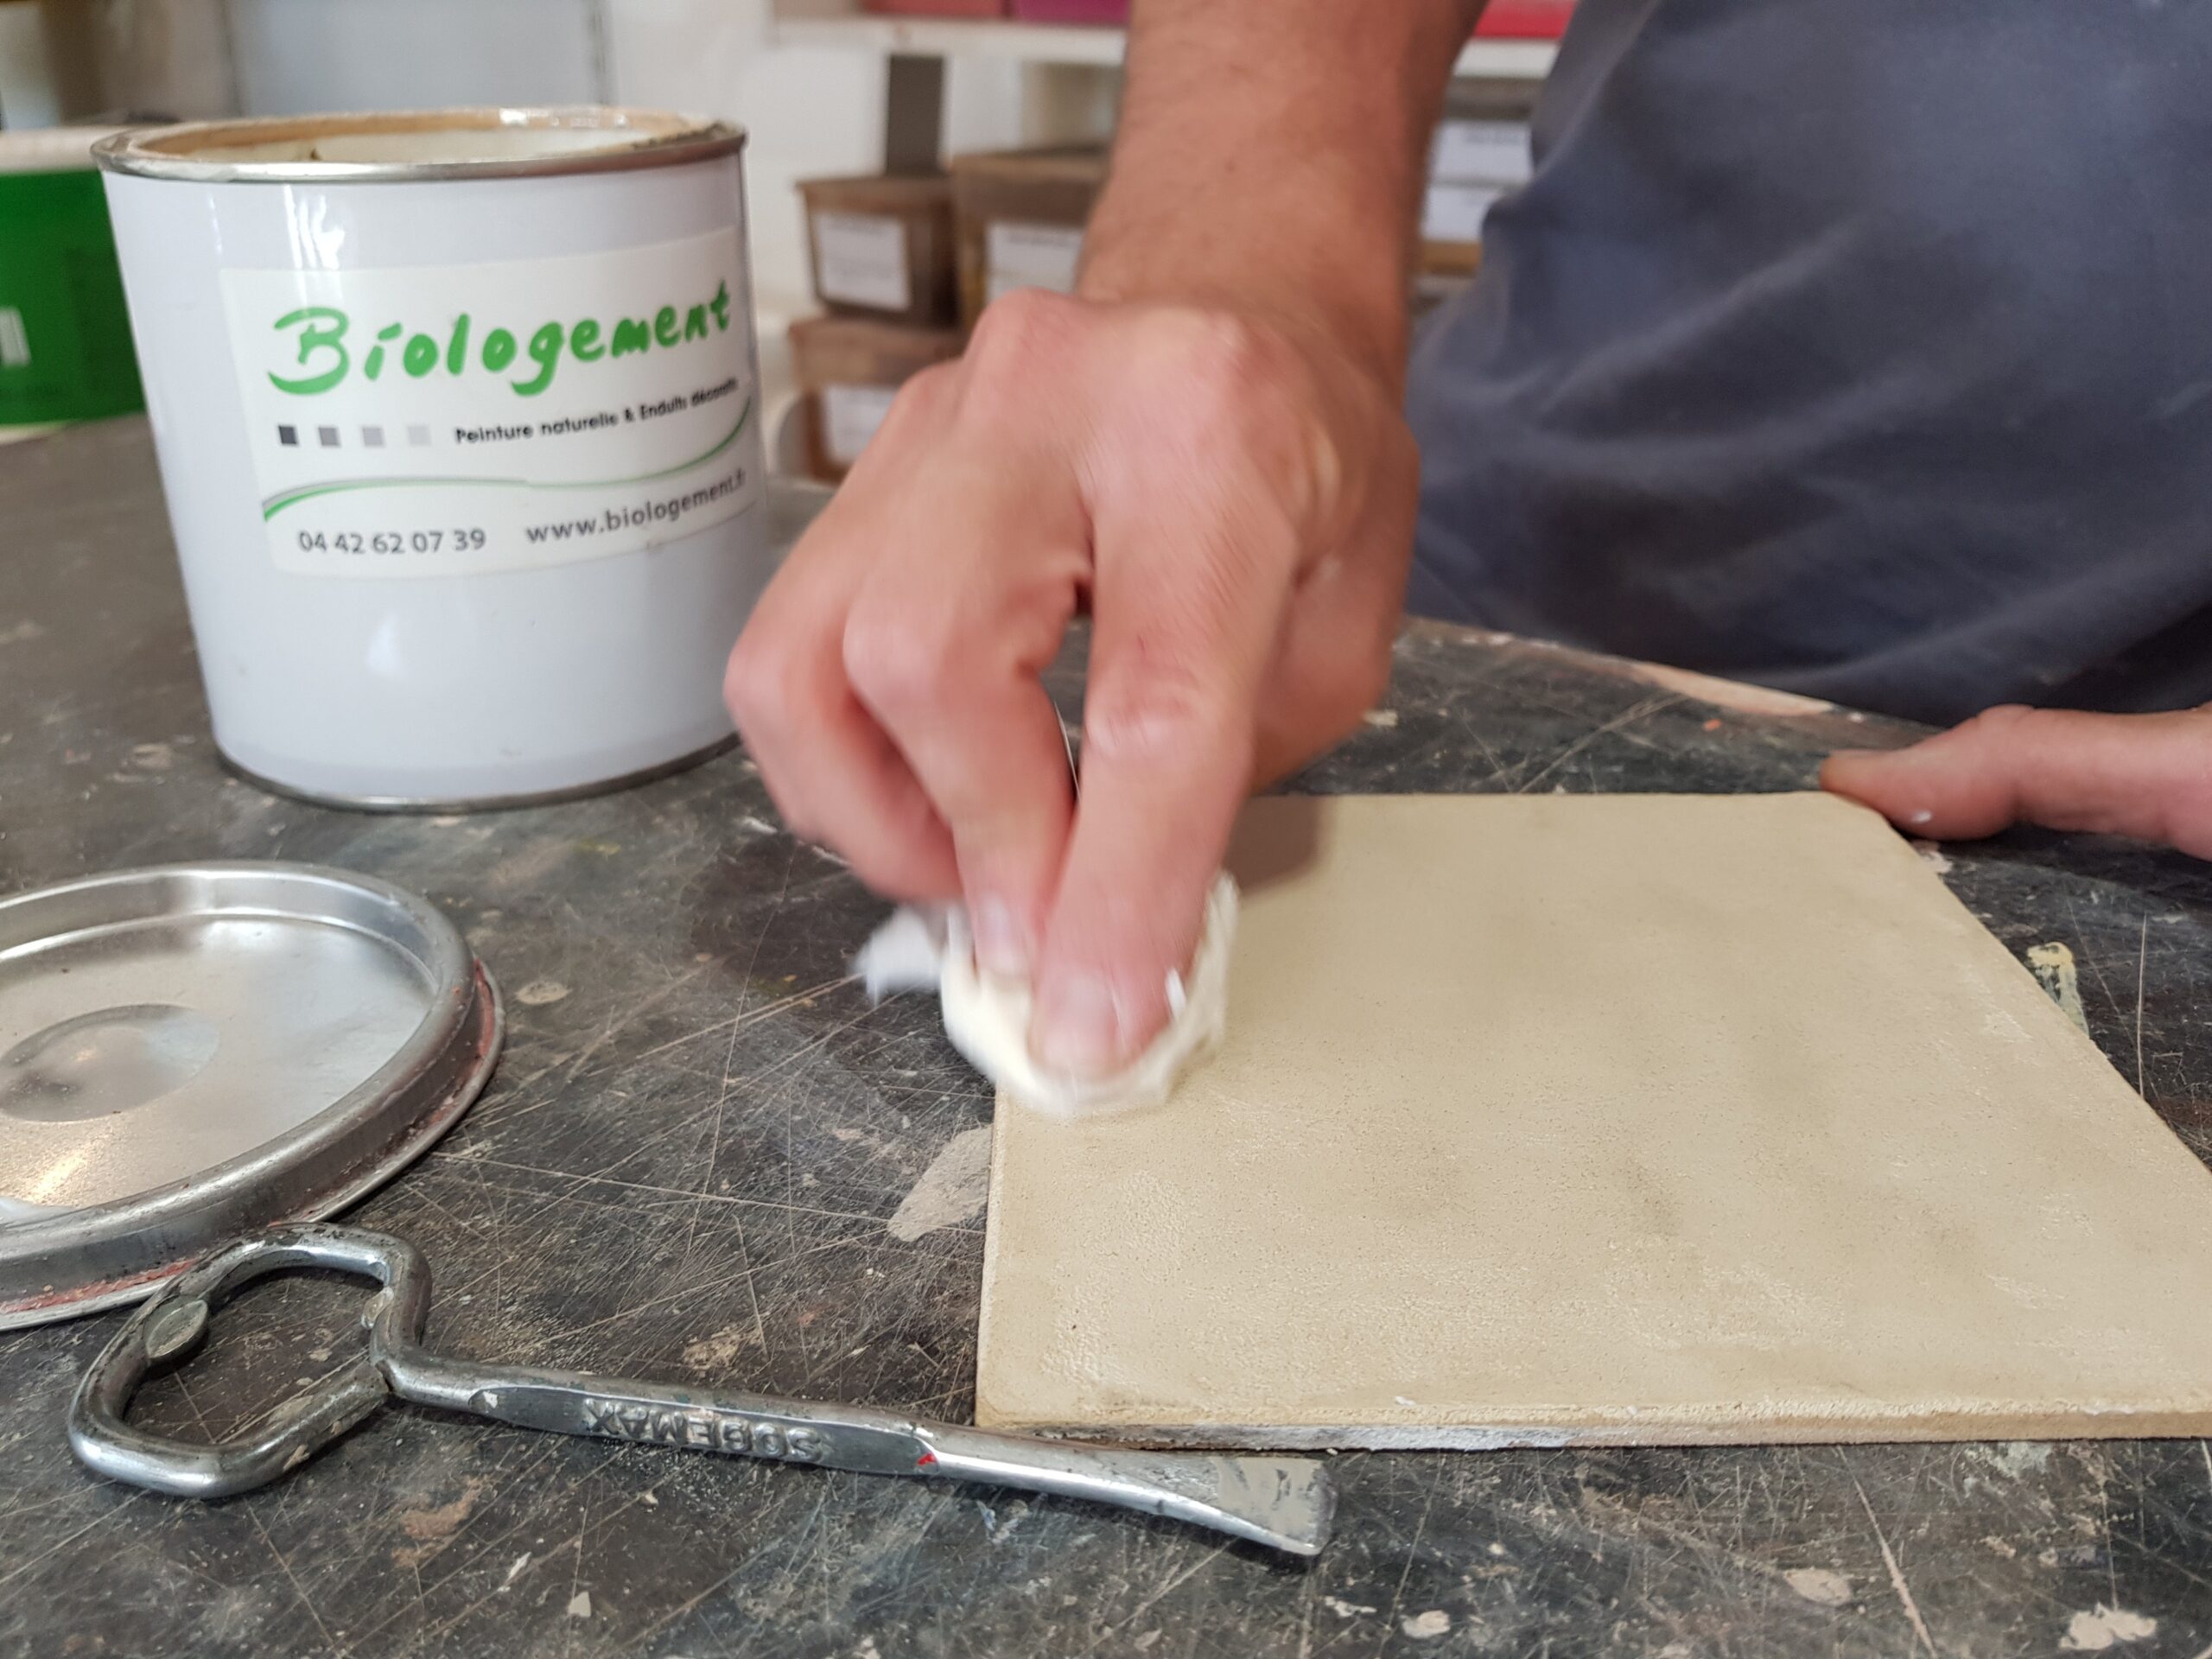
Choice of tools
Use appropriate tools facilitates the application of the underlay and ensures a professional result.
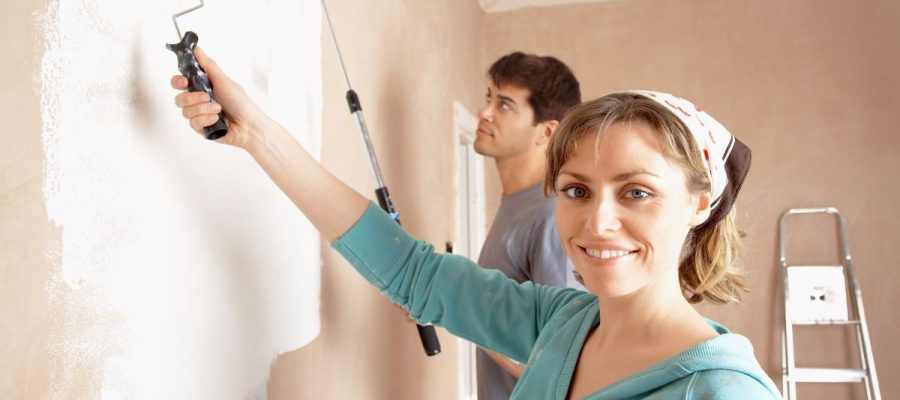
- Rolls: Favor quality rollers adapted to the nature of your support. For smooth surfaces, a short hair roll is recommended, while for more rough surfaces, a mid-long hair roll will be more effective.
- Broosses: Indispensable for difficult to access areas, angles and finishes. A brush to be repeated, with its specific shape, is ideal for these precise tasks.
- Protective tarpaulins and masking tape: Protect your floors, furniture and other surfaces that you do not want to paint using tarpaulins and quality masking tape.
- Painting tray and spin gate: They make it possible to uniformly distribute the underlay on the roll and to eliminate the excess product, thus avoiding the drips.
Underlay application
Technique d’application
1. Mixture of the underlay: Before you start, mix the product well using a mixer stick or a drill with a mixer tip. This homogenized the components and guarantees uniform application.
2. Angles and borders work: Using a brush to be spumed, apply the underlay to the angles, plinths and door and window contours.
3. Roller application: Load the roller in the underlaying by wiping it on the rack of the tank to avoid overloads. Then apply in cross vertical strips with regular movements and without too much pressure.
4. Smoothing: After applying the undercoat to an area of approximately 1 m², iron the roller without recharging in paint to standardize the surface and avoid traces.
5. Drying time: After applying the underlay, let dry the time recommended by the manufacturer, generally between 6 and 12 hours. This period allows the underlay to harden properly, ensuring optimal adhesion of the finishing paint.
Tips for optimal results
- Ventilation : Work in a well -ventilated room to accelerate drying and avoid the accumulation of paint vapors.
- Room temperature: Apply the underlay between 10 and 25 ° C to avoid drying too fast or too slow.
- Surface protection: Cover the floor and furniture with a protective cover and wear suitable clothes.
- Tool cleaning: Immediately clean brushes and rolls with water for an acrylic underlay, or with white spirit for a glycero underlay.
A methodical application of the underlay guarantees a solid base for finishing paint.
Application on supermarkets
For larger surfaces, use a roll. Load it evenly by dipping it in the paint tank, then eliminate the excess on the spin grid. Apply the underlay in cross passes: first perform vertical movements, then horizontal, making sure to slightly ride each pass to avoid traces. Work in areas of approximately one square meter to maintain a uniform application.
Layer of the layer
Apply a thin and regular layer. A too thick application can cause drips and prolong the drying time.
Deferting of defects
After application, inspect the surface to detect possible drips or gaps. If imperfections are visible, smooth them immediately with the roll or the brush to ensure a homogeneous finish.
Preparation for finishing paint
Once the underlay is dry, inspect the surface again. If roughness or imperfections remain, a slight sanding with fine abrasive paper may be necessary. Then dust carefully before applying the finishing paint.
Additional advice
- For smooth surfaces, a short hair roller (5-10 mm) is ideal, while for textured walls or plaster, a long-haired roller (12-18 mm) is preferable.
- Broosses: Indispensable for angles, borders and difficult to access areas. A spummer brush allows you to work with precision without overflowing.
- Painting tank: A bin fitted with a spin grid ensures a homogeneous distribution of the underlay on the roller, thus avoiding overloads and traces.
- Telescopic sleeve and pole: For supermarkets or ceilings, a pole facilitates the application by reducing fatigue.
When to apply the final painting?
Once the underlay is dry, make sure it is uniform and free from faults. If necessary, sand slightly with fine abrasive paper (grain 240) to eliminate roughness. Dust before applying the first layer of finishing paint.
Applying a front paint underlay is an essential step to guarantee an aesthetic and durable rendering. A careful preparation and a choice of suitable products are the key to a professional result. By respecting these tips, your final painting will reveal all its shine and its outfit over time.
latest posts published
Parental suite decoration: how to delimit the bathroom space
Children’s bedroom decoration
Zen decoration
Waxed concrete in an apartment
Opt for cocooning decor

Hotel decorations
Waxed concrete spa: how to do it?
Which decorative frame with a gray sofa?
How is a waxed concrete sample at € 15?